


Introduction
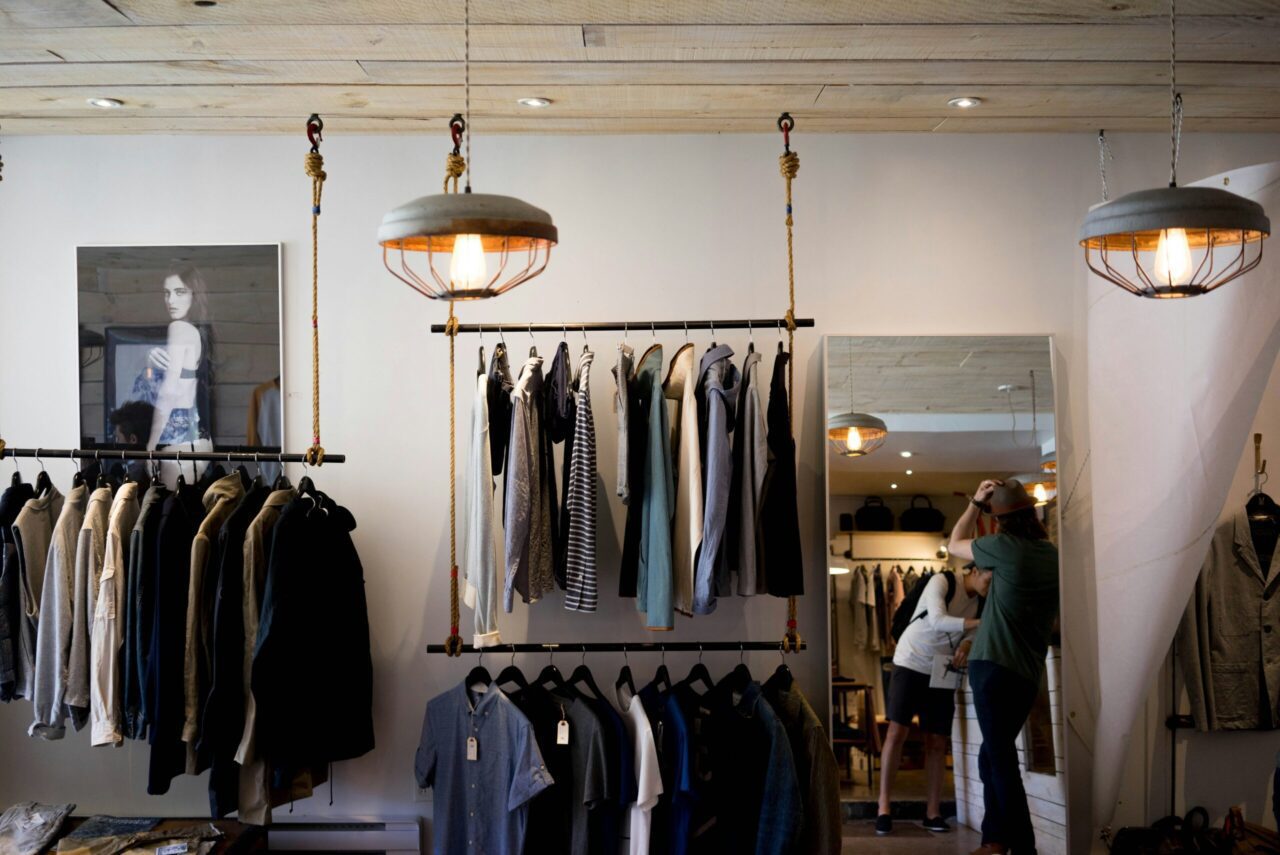
The fashion industry operates at a fast pace – driven by trends, seasonal demand, and diverse product categories like garments and footwear.
To manage this complexity, businesses rely on structured systems that can organise, track, and optimise operations. One such powerful tool is FashionNX – a solution designed for Fashion businesses specifically using SAP Business One.
This blog walks you through the setup, installation, and activation of FashionNX, along with troubleshooting tips to ensure a smooth implementation.
What is FashionNX?
FashionNX is a specialised solution designed specifically for fashion businesses. It helps manage:
- Product attributes (size, colour, style, and more).
- Inventory tracking for garments and footwear.
- Customer segmentation and preferences.
- Operational efficiency in merchandising and planning.
In short, it aligns your ERP system, i.e., SAP Business One, with the unique demands of the fashion industry.
Step 1: Deploying the Add-On via SLD
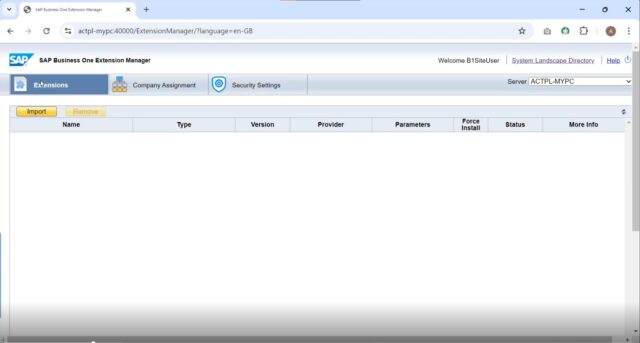
The System Landscape Directory (SLD) in SAP Business One Extension Manager acts as a central hub that manages metadata, system configurations, and security settings across all Business One components.
It maintains critical details such as server information, license assignments, and DI API connections, ensuring seamless and consistent communication between different parts of the SAP Business One environment.
The installation begins in the System Landscape Directory (SLD):
- Log in to SLD.
- Navigate to Extensions – the first option at the top left corner.
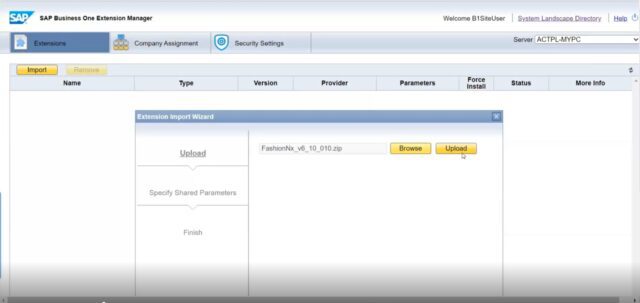
- Select the FashionNX package.
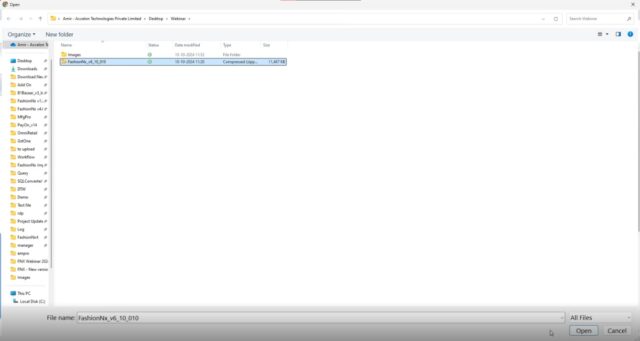
- Click Upload and complete the process.
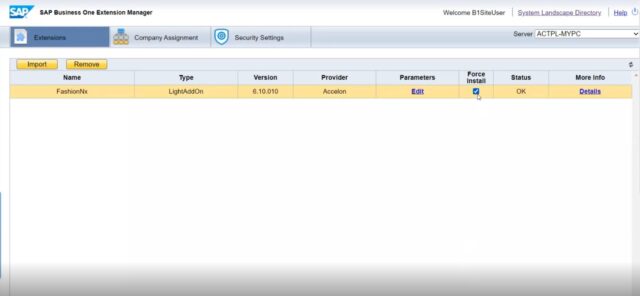
- Choose the “Force Install” option once the FashionNX is visible in the Extensions tab.
- Next, click on the Company Assignment tab.
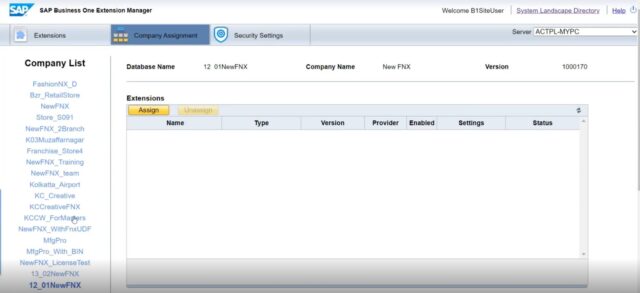
- Then assign FashionNX to your target database.
Tip: Always set the installation mode to Automatic during the first run. 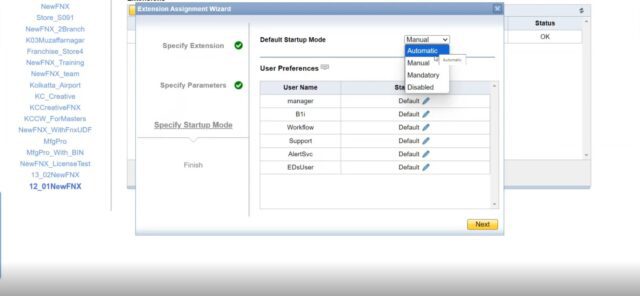
Step 2: Database Configuration
After deployment, log in to your SAP system:
- Enter database credentials (username & password).
- The system will prompt you to create the required tables, aka User-Defined Fields.
- Confirm the creation process by clicking on Yes.
Important Notes:
- For SQL databases, only credentials are required.
- For SAP HANA, the user must also provide the server name.
This step ensures that FashionNX integrates properly with your database.
Step 3: Table Creation & System Updates
Once credentials are validated:
- The system automatically creates the necessary tables and fields.
- Any new updates to the add-on will trigger similar prompts.
- After completion, you’ll be asked to restart SAP Business One.
This is a standard process whenever database modifications occur.
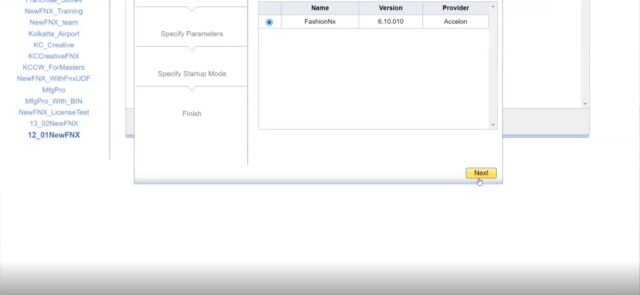
Step 4: Assigning FashionNX to the Database
- Revisit SLD.
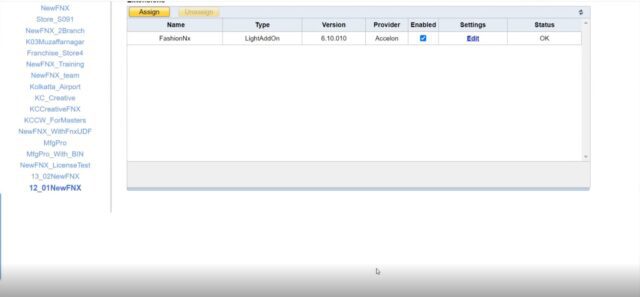
- Assign FashionNX to the desired database.
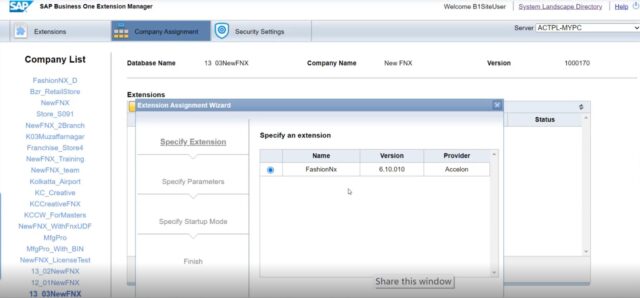
- Set the Default Startup Mode to Automatic and then proceed to finish the process.
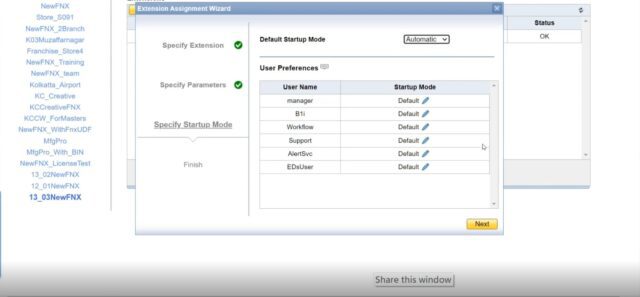
- Re-login to apply changes.
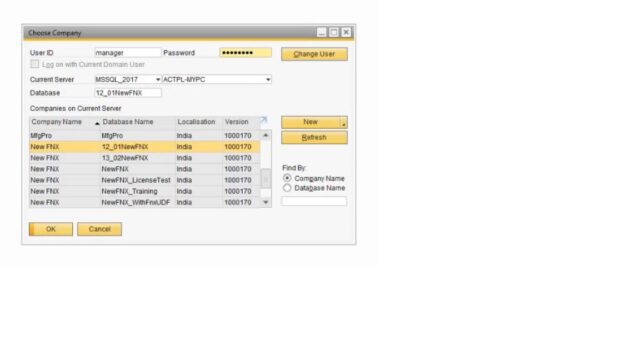
Step 5: Re-login & Access
Next, we re-login:
- Log back into SAP Business One by entering the User ID and Password.
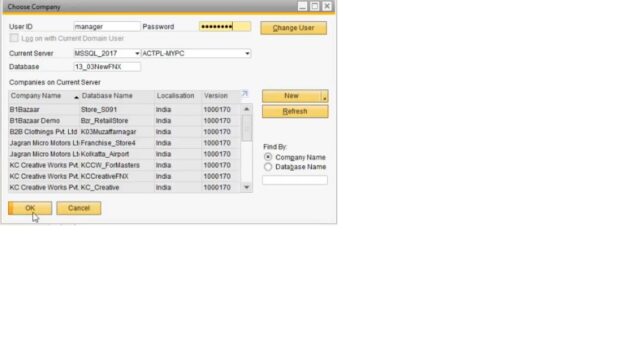
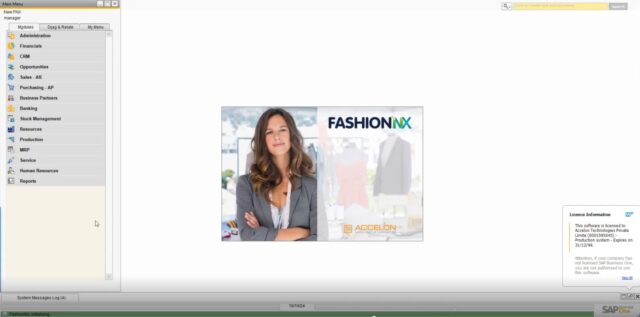
- Once logged in, the FashionNX menus, modules, and features will now be accessible.
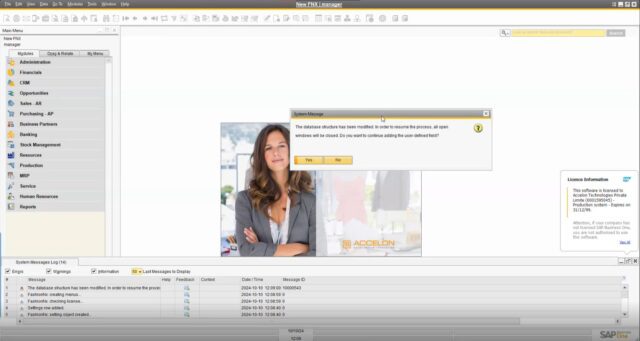
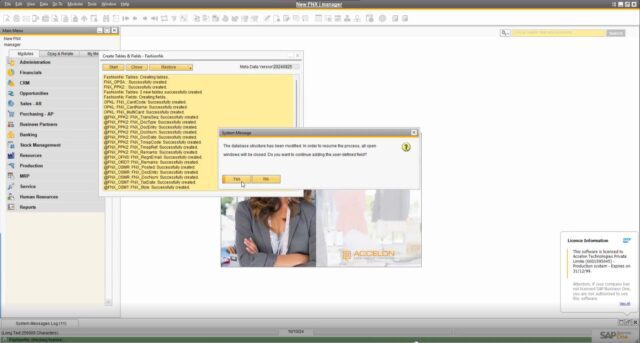
- FashionNX will then automatically show you all the tables and fields that are in the new update, if any and will ask you to restart the application when the process is complete.
- Clicking on Ok will show a System message showing the user that the database modification was done and whether the user wants to continue adding user-defined fields.
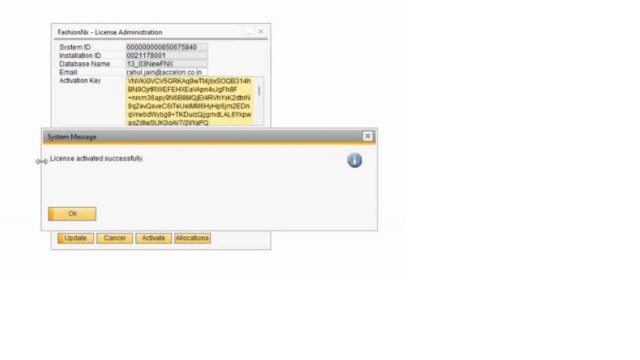
Step 6: Activating the License
Before using the FashionNX, you must activate its license. To do so:
- Navigate to:
FashionNX → Setup → Licenses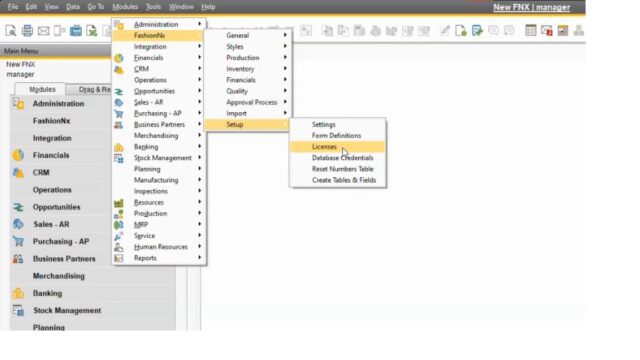
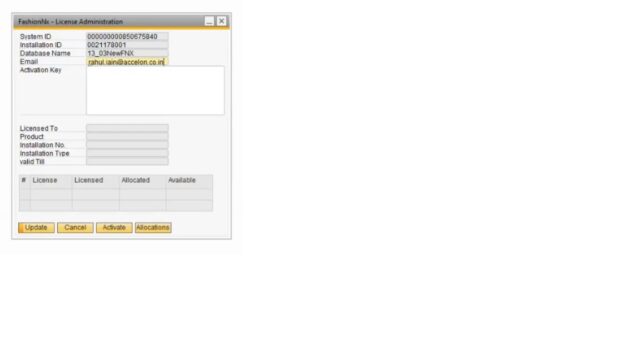
Whenever a user is activating the FashionNX license, they need to provide information such as Customer Name, Email ID, System ID, and installation ID. Once a database is connected, these fields are filled automatically.
- Enter the Email ID.
- Next, paste the Activation Key in the Activation Key field.

- Click Activate.
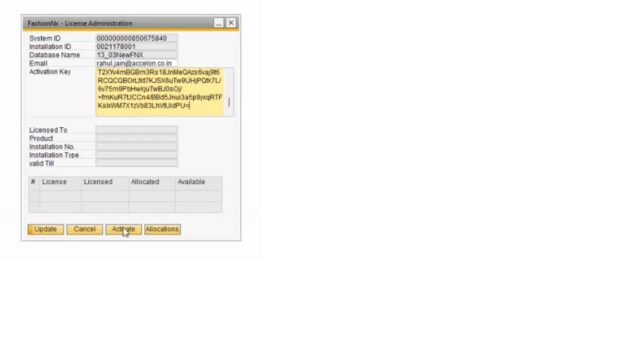
- Once successful, the user is greeted with a system message – “License activated successfully”.
Step 7: Re-login to Access Features
Once the license is activated, all features and modules of FashionNX become available to the user.
To access them, users need to re-login to FashionNX. Here’s how:
- Log back in with the User ID.
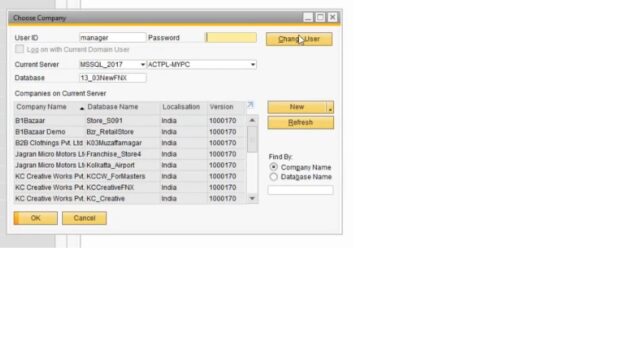
- Once logged in, FashionNX menus are now accessible to the user.
Troubleshooting & Maintenance
There are times when things don’t work as expected. For such scenarios, users can troubleshoot them with simple steps.
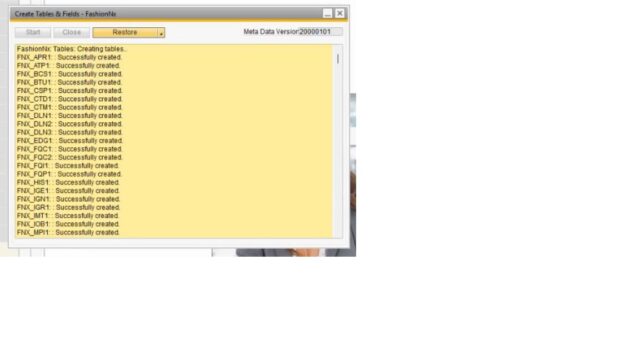
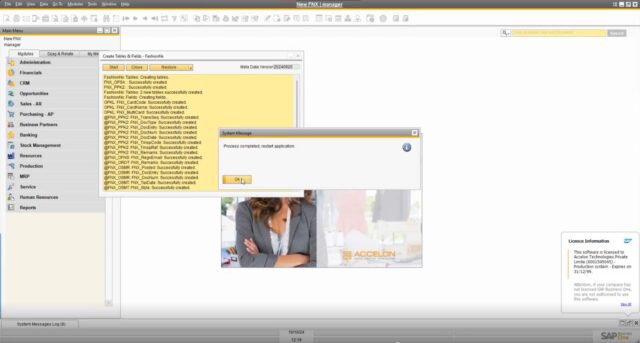
Create Tables & Fields
Navigate to FashionNX → Setup → Create Tables & Fields. 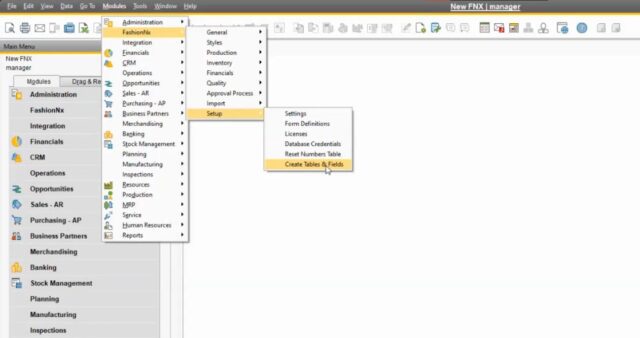
This opens the Create Tables & Fields – FashionNx window. 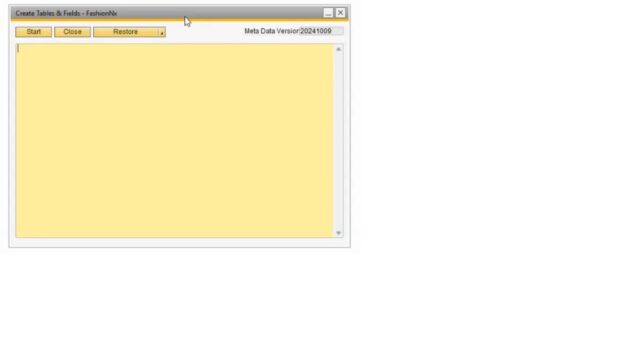
To check or recreate any missing tables, users must click the Start button. 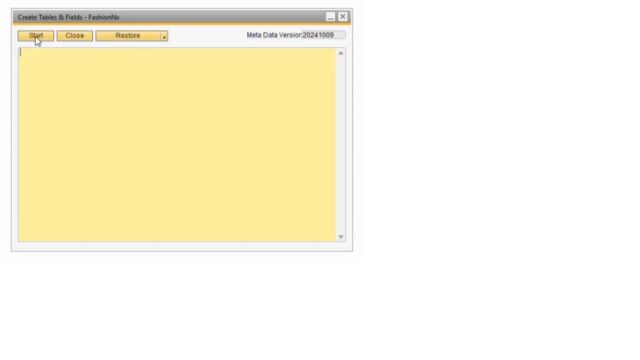
Doing so, lets FashionNx check all the tables and tell the user to restart the application once the process is completed. 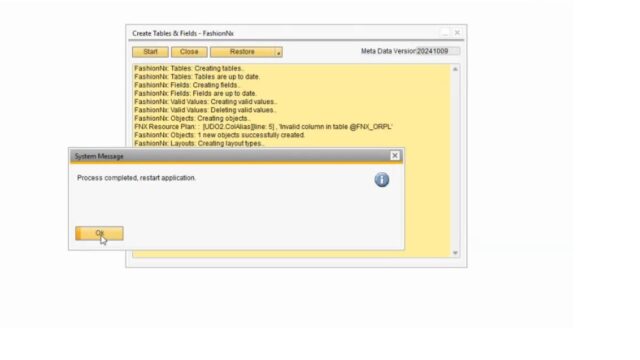
Restore Procedures
Another way users can troubleshoot is through the Restore option in the same window.
Clicking on Restore will present users with 2 options – Restore Procedures and Check All Fields. 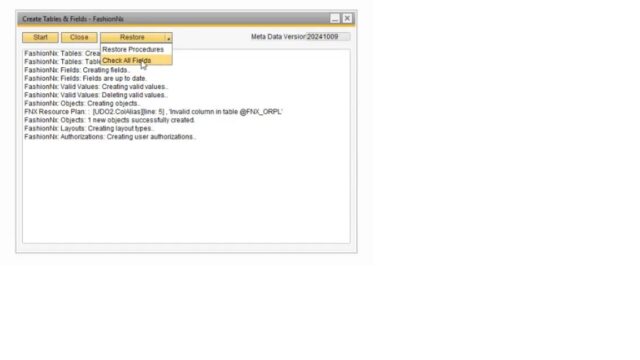
Selecting Check All Fields will direct FashionNX to check all the tables and fields for any missing data due to glitches or other issues. 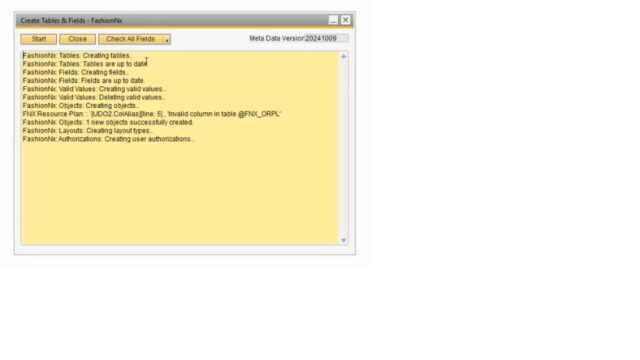
Users also have the option to Restore Procedures in the Restore button. 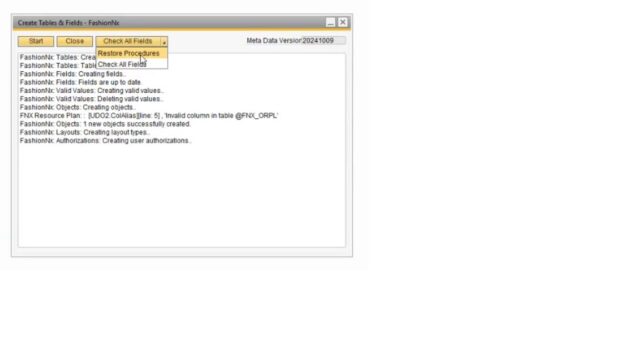
Clicking on it will show the following system message – 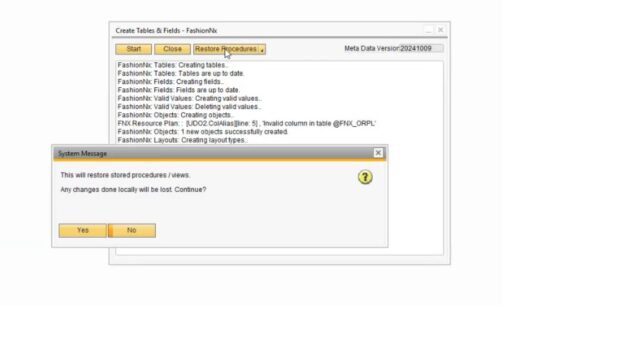
Once the user confirms their choice by clicking on “Yes”, FashionNX will restore any missing procedures which the user can see in the log – 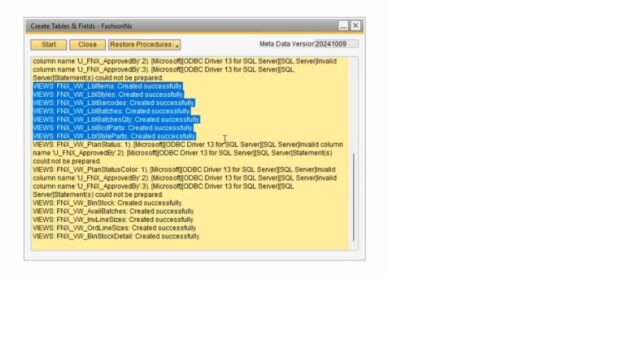
These tools ensure your system remains stable and fully functional.
Final Thoughts
Setting up the FashionNX may seem technical, but it follows a logical flow:
- Deploy via SLD.
- Configure database.
- Create tables.
- Assign database.
- Activate license.
- Troubleshooting.
Once installed, it transforms SAP Business One into a fashion-focused ERP solution – capable of handling the industry’s complexity with precision.
If you’re working in fashion retail or manufacturing, implementing FashionNX can significantly improve efficiency, accuracy, and scalability.